
A Source is an app, data from which will be displayed on the report page in the form of a table. You can add several system and custom apps like Standard, Event, or Document from any workspace to the report. Using one report as a source for another is not available.
In order to combine data from several sources in one report, apps must be bound with a common field.
Before you add multiple data sources, make sure that a field for binding is added to the source’s context. It can be:
- a common property with the same type for example, a company specified in an order or contract;
- an App-type filed in one source, referencing the other source.
Create the fields for binding and enable the search and sort option for them. You can then go to the report and add the sources to it.
Select sources
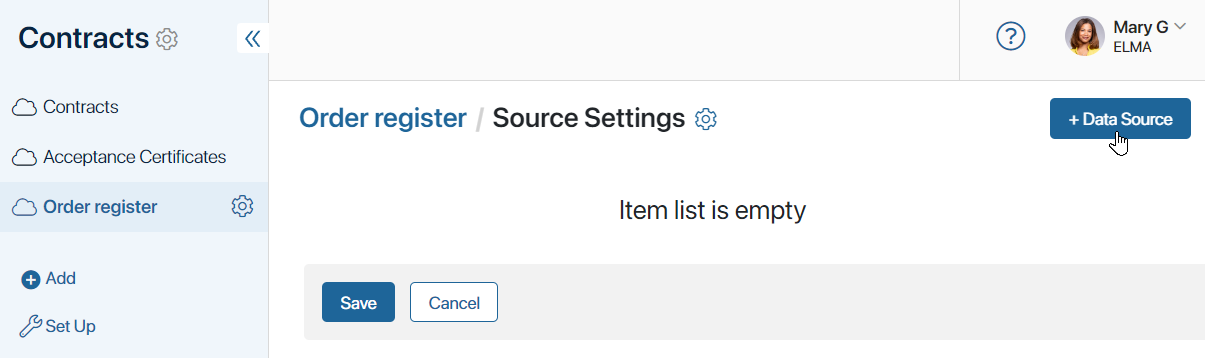
- Open the report and in the center of the page, click Add Source.
- In the upper right corner of the page that opens, click +Data Source.
- Specify the source name and select an app from any workspace on the system.
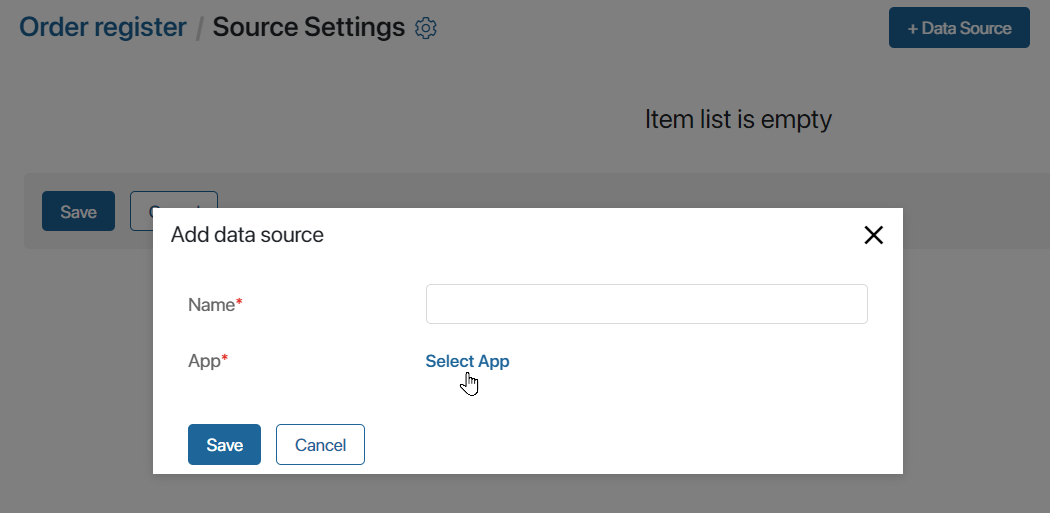
- Click Save.
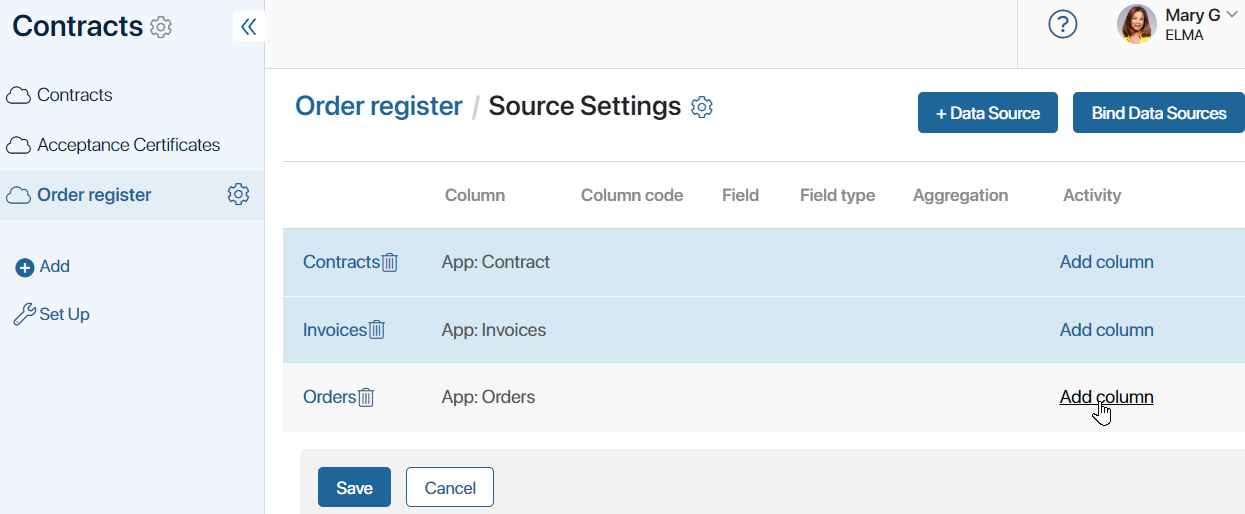
- In this way, add all the apps, the data from which you want to display in the report table. For example, let’s select three apps as sources: Orders, Contracts, and Invoices.
- Then customize the columns of the table by selecting the properties of the source apps to display.
Add table columns
Each table column in the report is a property selected from the added source apps.
In the column, you can display the value of a property or set the aggregation of data for this property from several items. For example, if a contract contains several invoices, you can display the amount for all the items. Properties added as columns, for which the search and sort option is enabled, are used as search filters on the finished report page.
To customize the table, follow these steps:
- Next to the source name, click Add column.
- Fill in the fields in the opened window:

- Data source. The field displays the name of the selected source app.;
- Field. Select a property from the drop-down list from the context of the source app. You can add only those fields for which the search and sort option is enabled;
- Field code, Field type. The values are filled in automatically according to the selected field from the source app context;
- Column name*. Specify the name of the column to be displayed in the table;
- Column code*. The code is necessary for exporting data from the column and is used when creating a template for table upload. The field is filled automatically by the specified column name. The value can be changed manually to make the code of each column added to the report unique. When editing the field, you cannot use the values of key SQL operators, for example,
order,group,sumetc.; - Aggregation. This option allows you to apply aggregation functions to the data from the source to create summary tables or statistics. You can select Amount, Total, Average, Maximum, or Minimum. The table column will display not the value specified on the item form, but the result of grouping reports from several items that meet the specified condition. For example, you can aggregate order data for each month or calculate total sales for a certain period. If you select No, the table will display the value specified in the source item page.
- Search by field. This option, when selected, indicates that the property will be used as a filter to search for data on the report page. It is turned on automatically if the search and sort option is activated for the field in the settings of the source app or data aggregation is set for the column in the report.
- Save the added column.
- Customize the table columns in the same way, specifying properties from all added source apps.
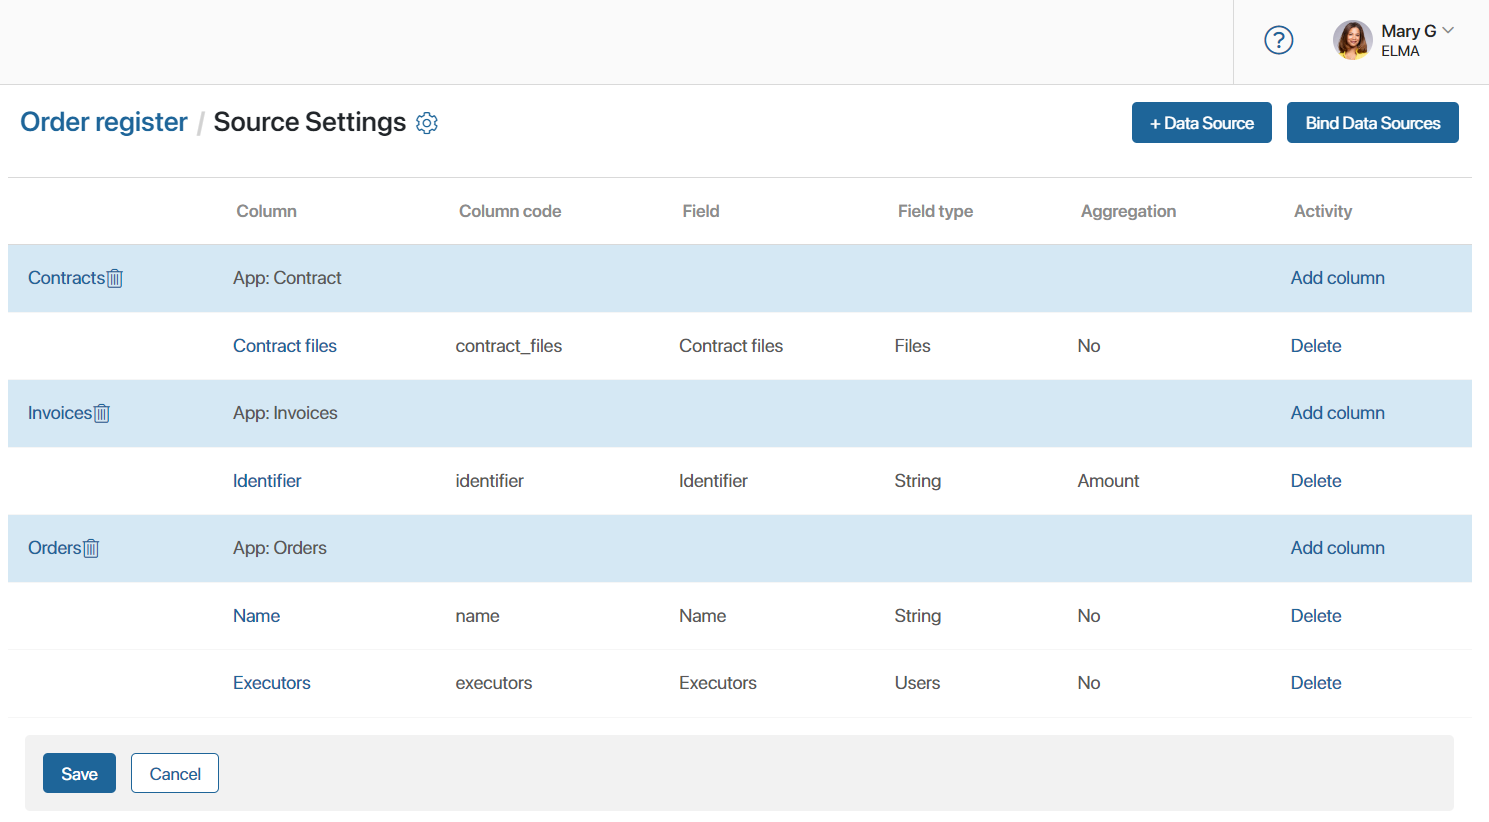
For example, if you want the report table to show the fields with the order name, executors, contract files, and invoice amount, the settings will look as follows:
- To edit the column name or code, click on the property in the list. To remove it from the table, in the row, click Delete.
After setting up the table, you must bind the sources together, i.e., combine items from multiple apps into a single table with data. If you do not bind them, you will see an error alert when you save the list of sources.
Set additional table settings
In the additional settings you can set the order in which columns are displayed in the table, as well as the frequency of data updates in the table.
- Click the gear icon in the upper left corner of the Source Settings page.
- In the opened window, specify the settings on the two available tabs:
- General. In the Time before data is refreshed (in minutes) field, specify the time after which changes made to the source apps can be displayed in the report. The default value is 5 minutes. If you navigate to the report page and then create source items, you can refresh the table and display the new data after 5 minutes.
The minimum value is 1 minute. To refresh the table without delays, contact ELMA365 technical support to set the value 0 in this field. Please note, that this option will cause additional load on the system.
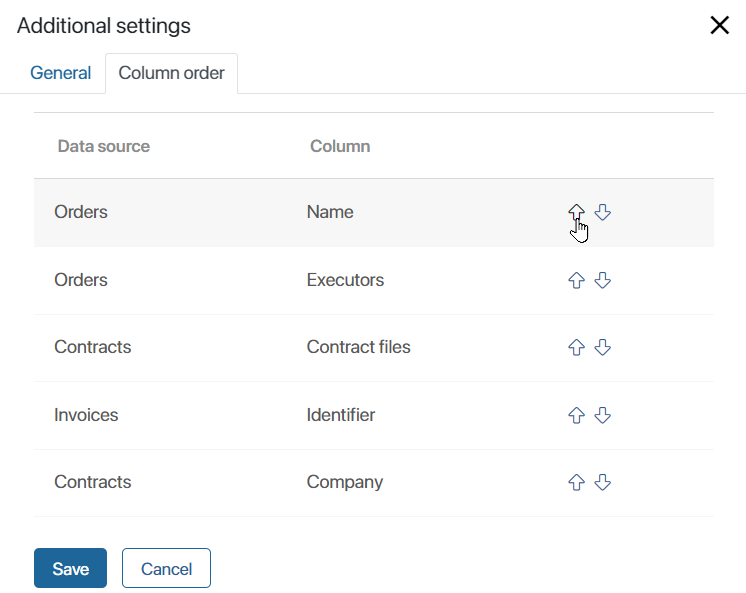
- Column order. Customize the order of columns in the report table. To do this, click the up or down arrow icon next to the column name.
- Save the additional table settings.
- To finish the source settings, click Save.
Found a typo? Highlight the text, press ctrl + enter and notify us