
By default, only the user assigned by the Project Manager can create and edit a project’s plan. However, the administrator can grant these privileges to other project participants.
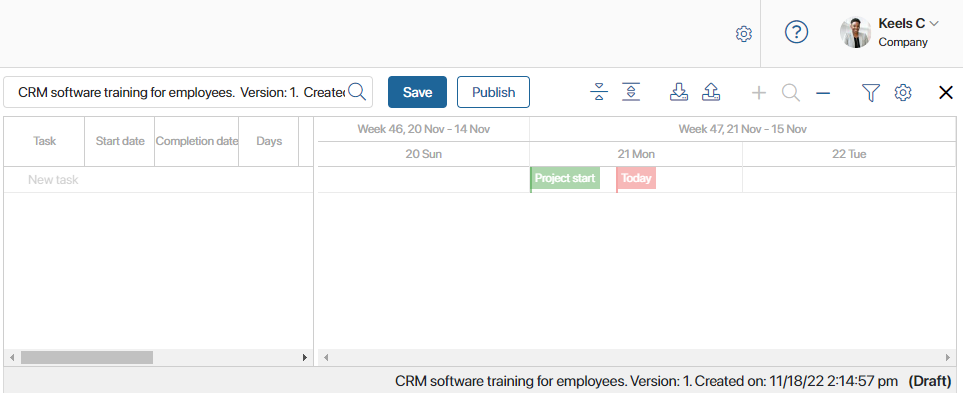
To create or edit the plan, go to the Gantt Chart widget on the project page and click Edit. The creating and editing page opens.
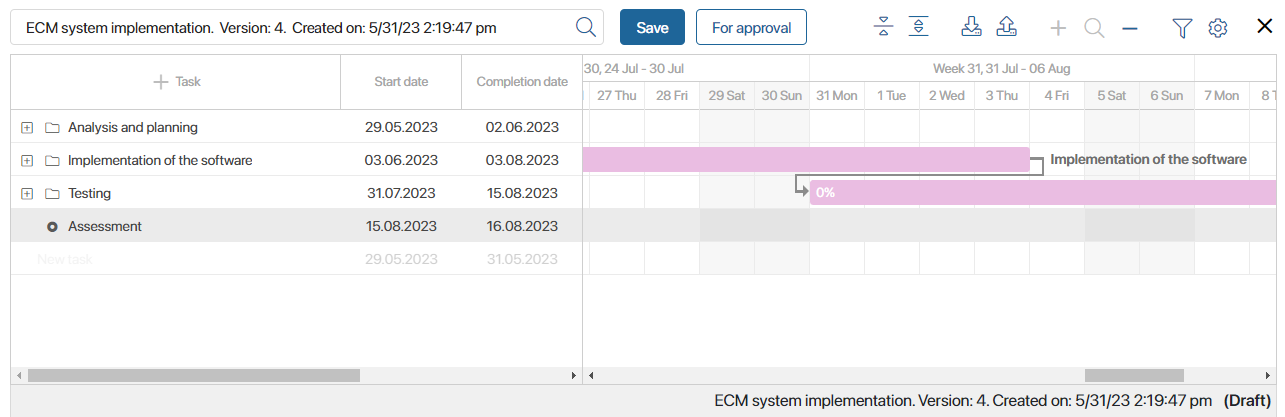
Add tasks and subtasks. Read more about this and the different types of tasks in the Create a project plan task article. Also, link the project tasks to each other.
When working with the plan, it is convenient to use the toolbar. It will allow you to fold all subtasks in the list, change the time period on the diagram, sort the plan items, automatically move the dates of linked tasks, show deleted tasks, etc.
Save the plan
When all tasks are added and linked, save the plan draft by clicking Save on the toolbar.
After that, the number of the created plan version, its creation date, and status will be shown under the chart.
When you do it:
- If plan approval is configured in the system, you can send the draft to the approver by clicking For Approval.
- If approval is not required, you can publish the plan.
Found a typo? Highlight the text, press ctrl + enter and notify us